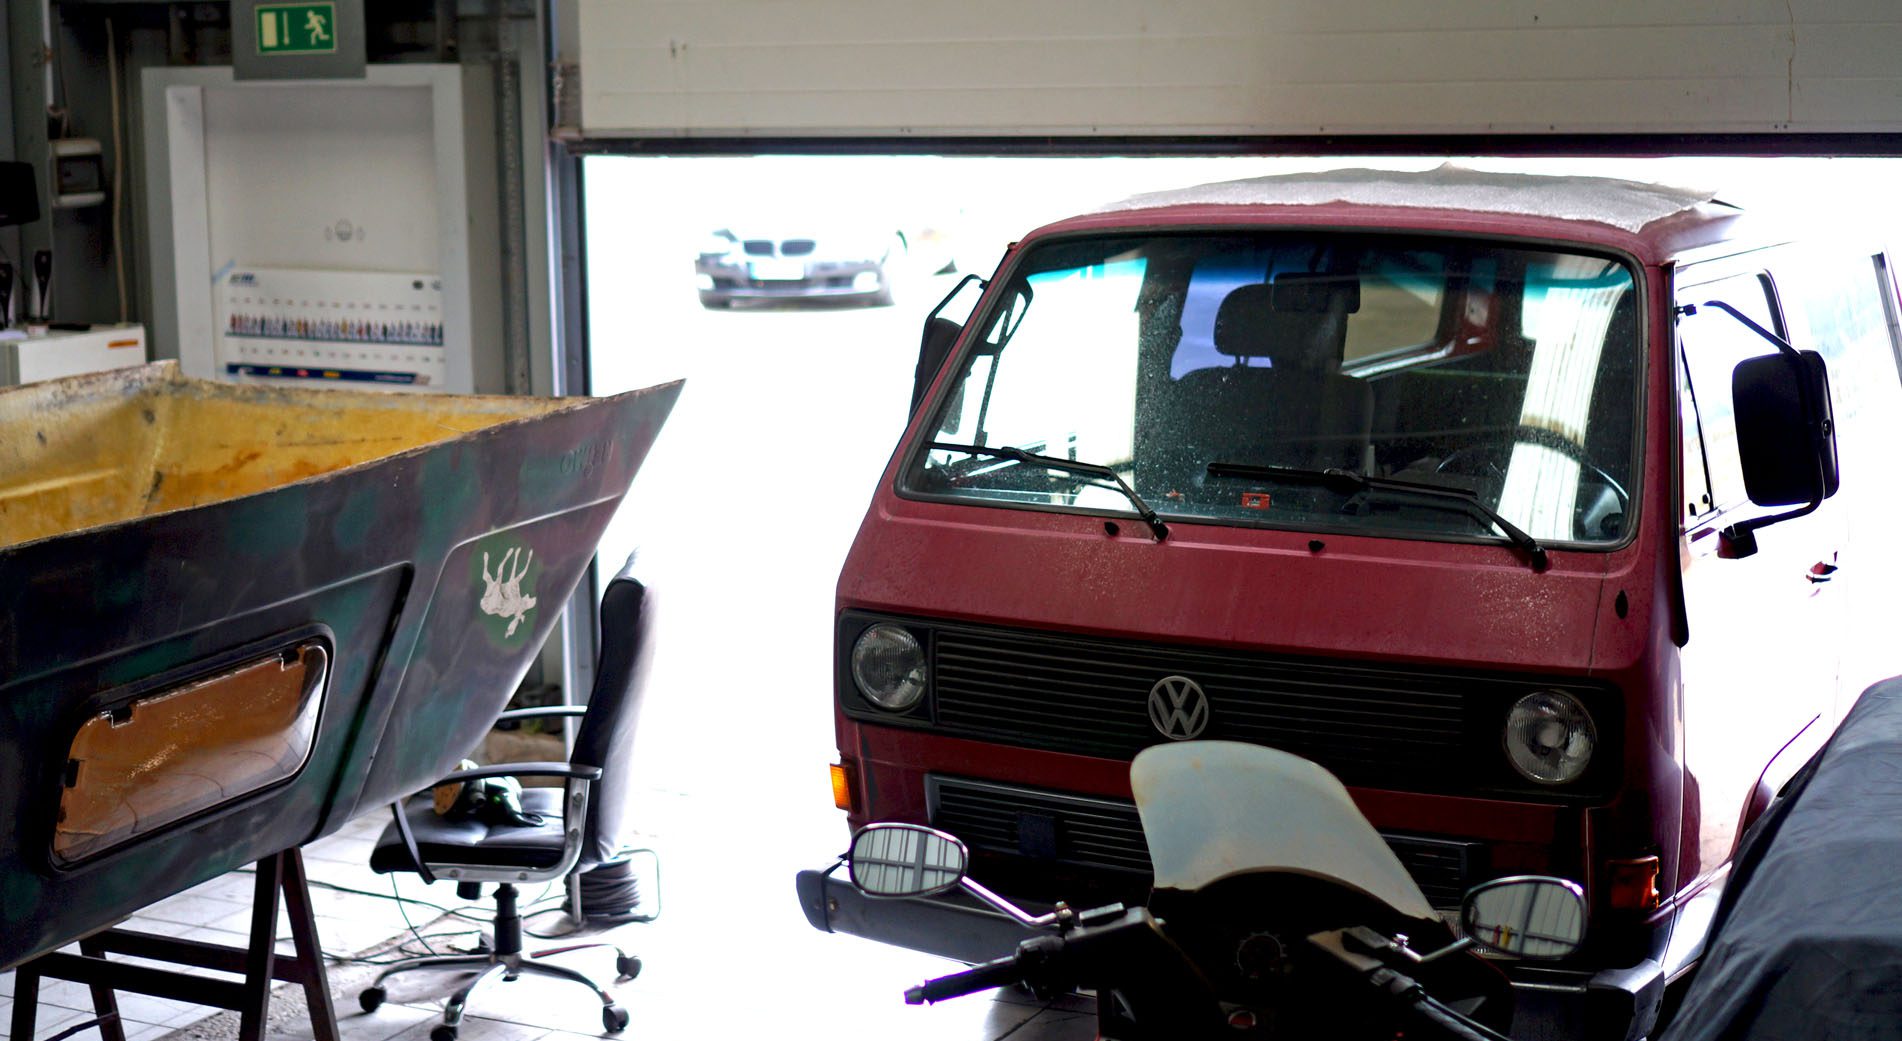
Since there isn’t much happening in the way of preparing that is worth taking pictures of right now, I thought I might show some pictures of the work I put into the new raised roof for the vanagon.
I bought the roof used from a guy not living to far away from me. Since it was already cut off the old vanagon I could just strap it onto mine and take it home. Still felt a little strange going on the highway having this thing attached by only 2 lashing straps and some duct-tape.
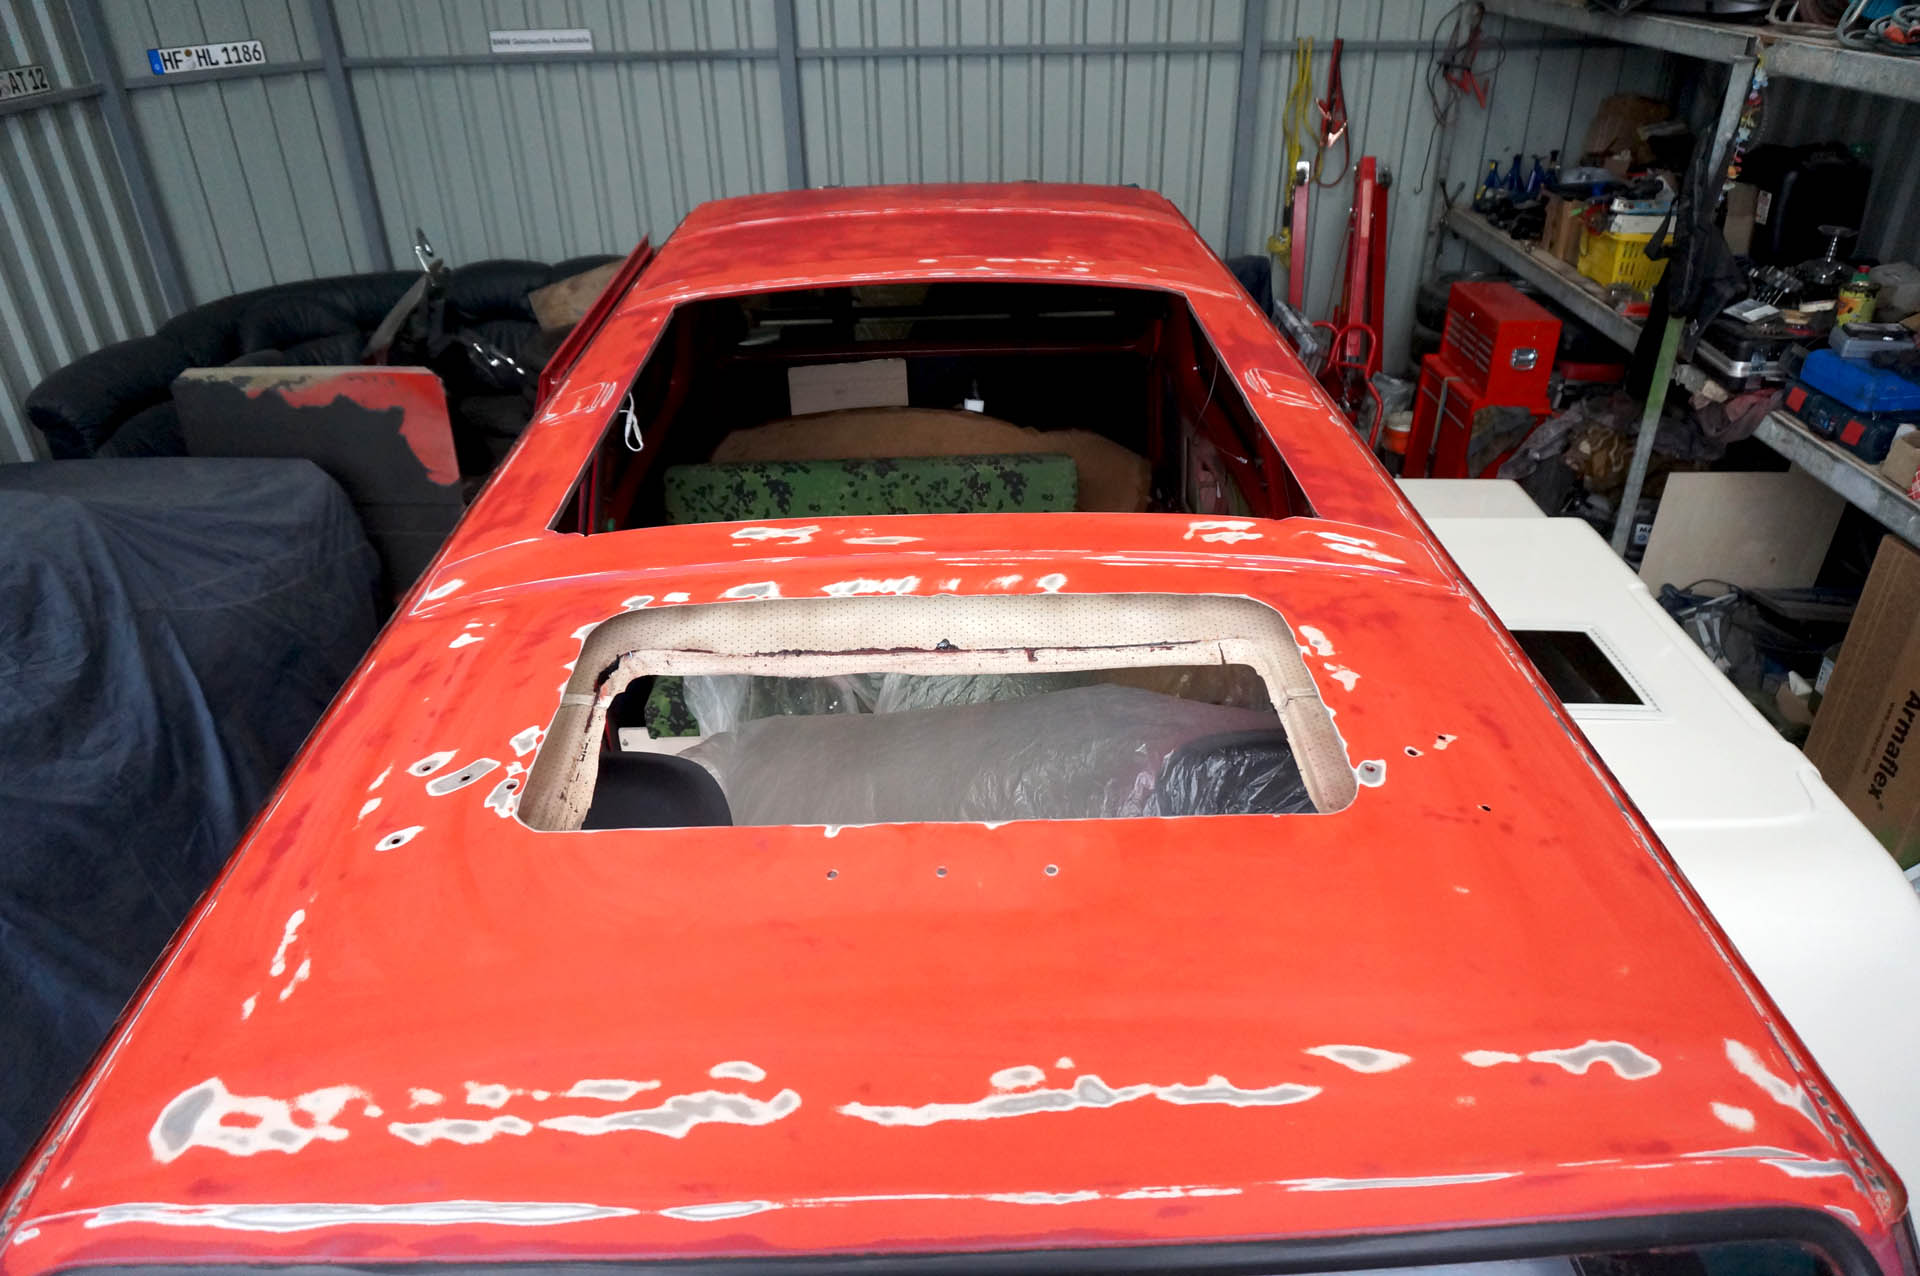
The “new” roof
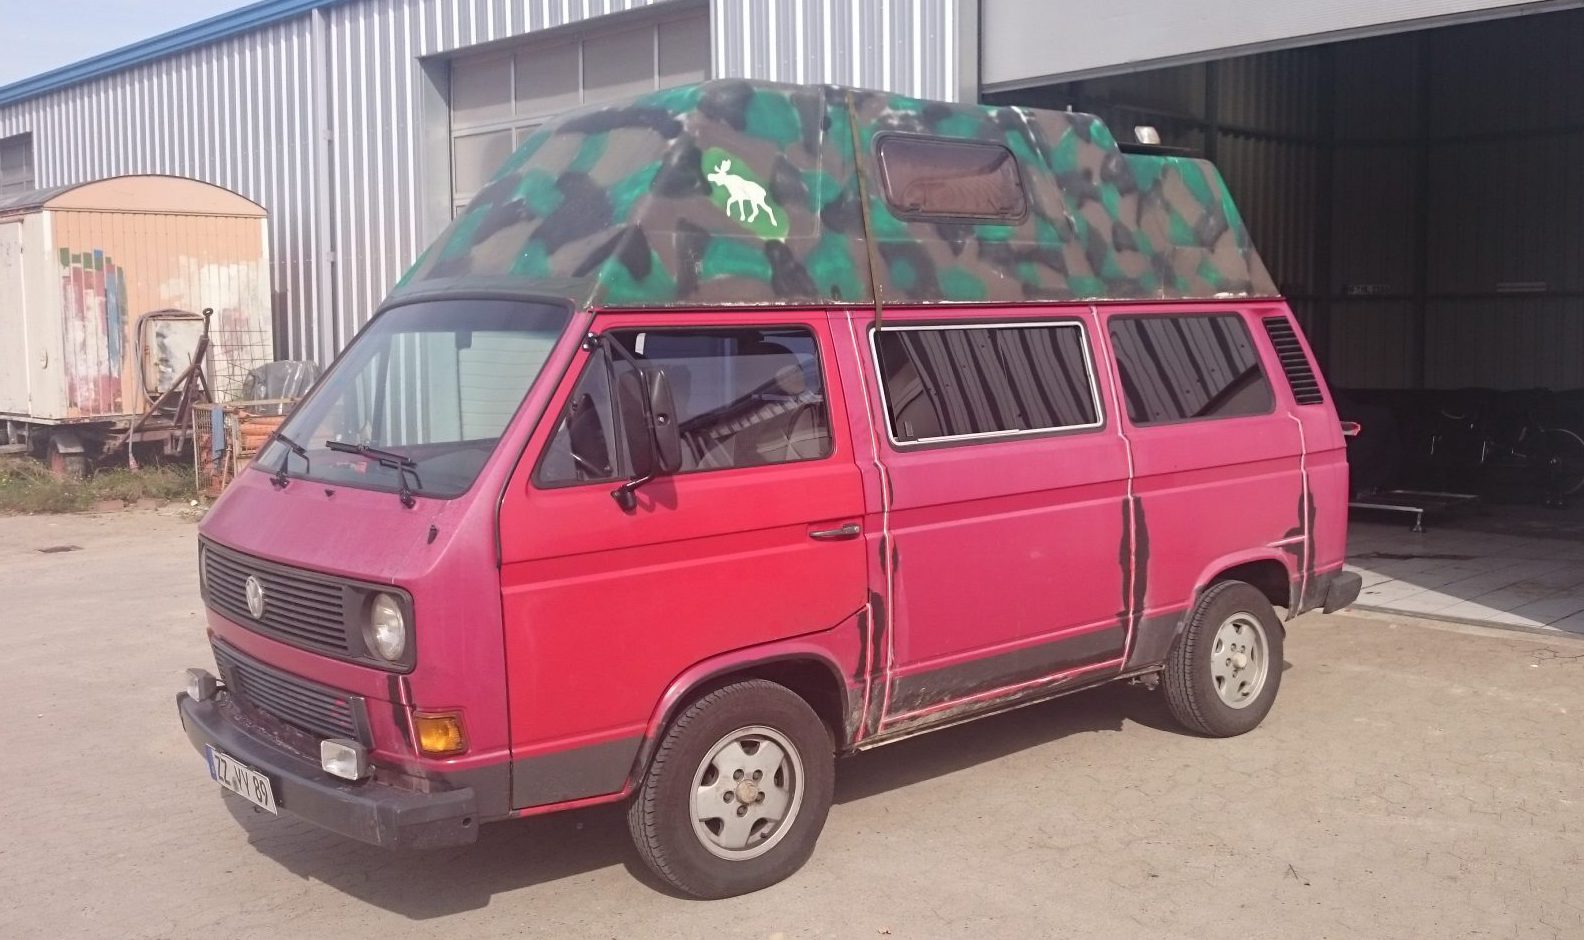
The previous owner seemed to be fond of Scandinavia and stealth camping. Since I think it might cause some trouble to have a camouflage roof going through Pakistan und such, I decided to repaint it. It’s not like you would be able to hide a 4,6m x 2,6m car just because the roof is painted green, black and brown… with the rest of the car being red anyway. :)
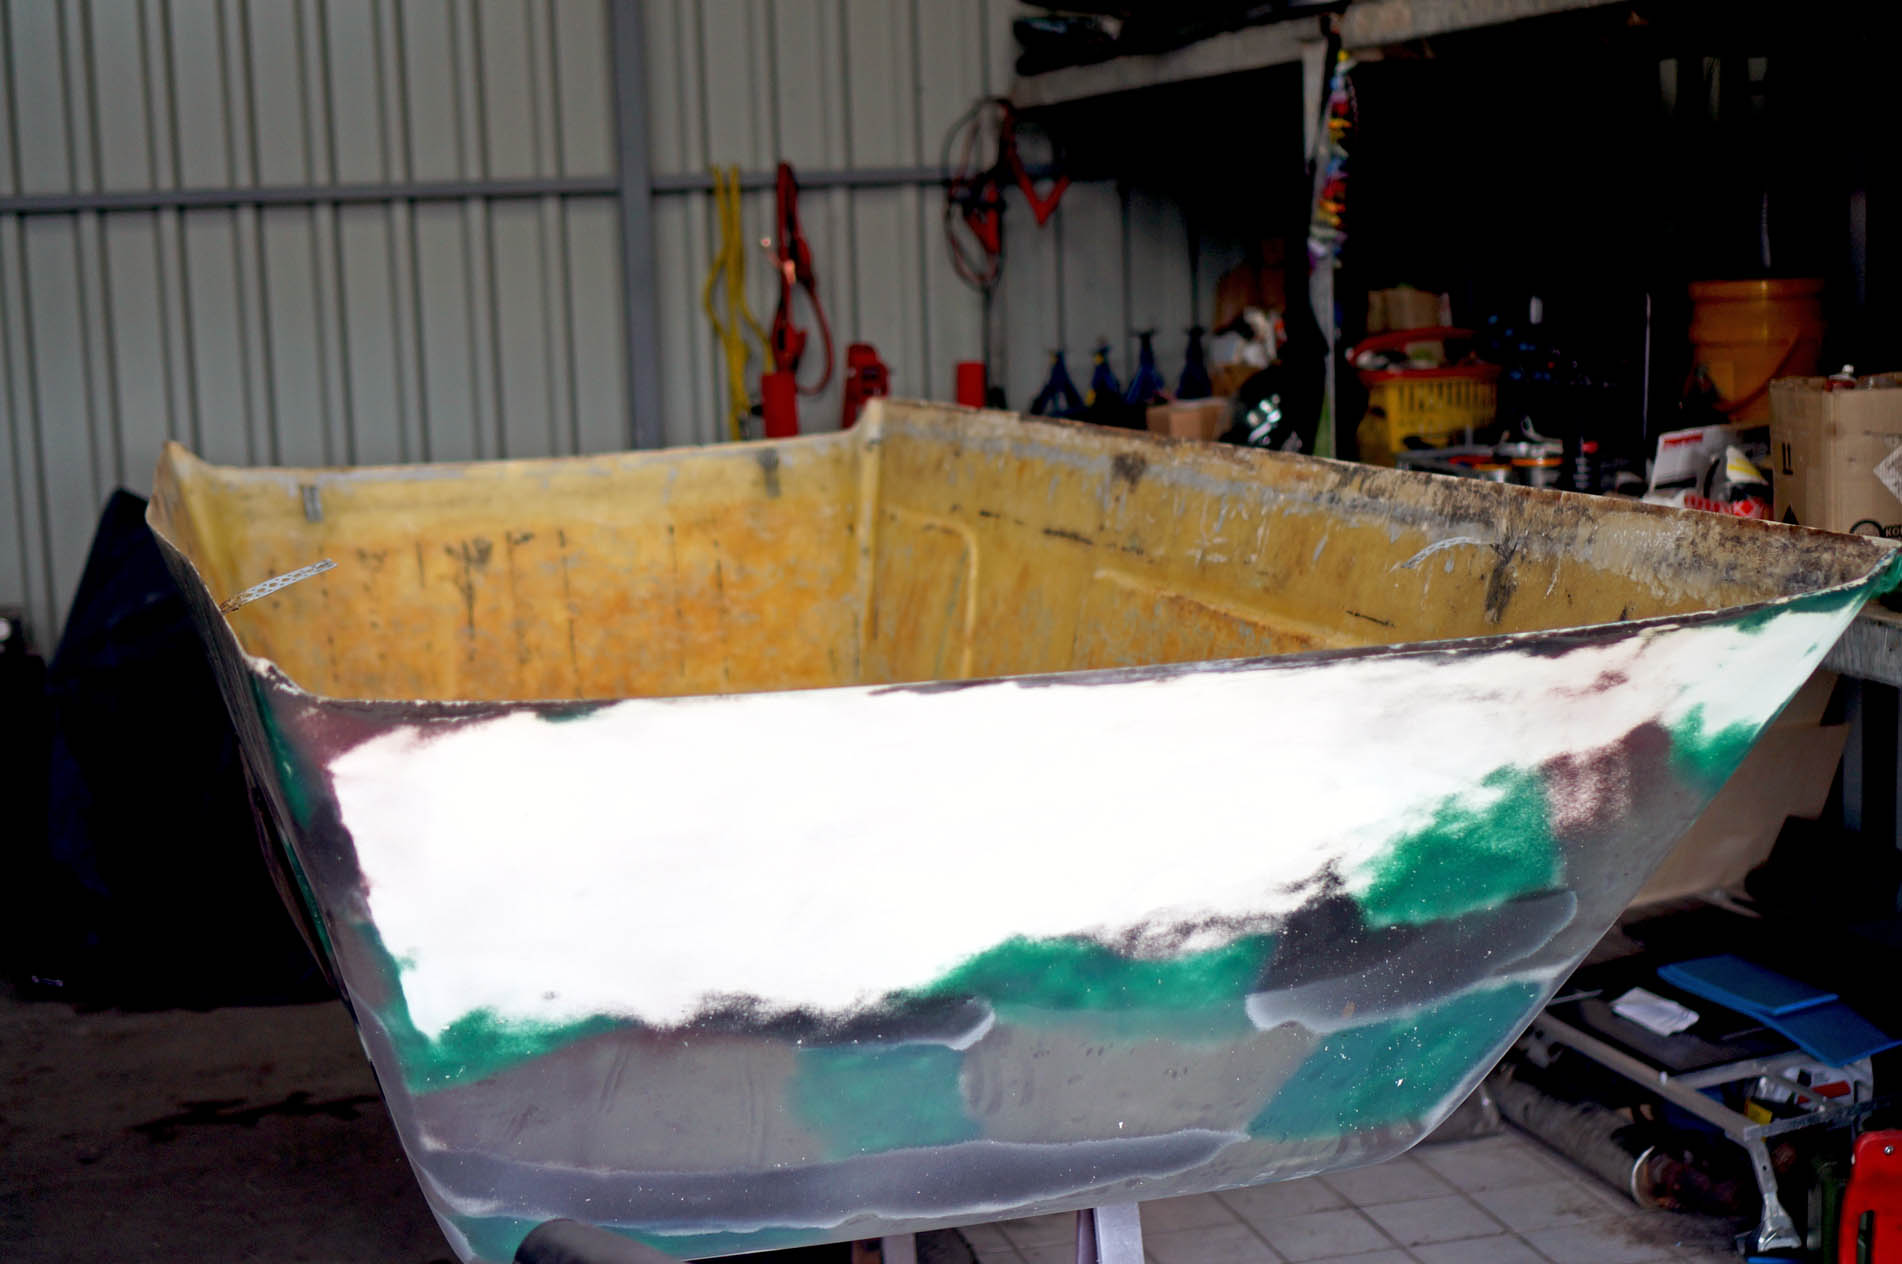
A lot of sanding

Feeling Dexter :)
After getting the old paint of and rolling it twice with RAL 9001 I was quite happy with the results (surface of the roof is about 7m²). As the roof will be seeing a lot of sand, sun and branches during the trip I’m not to finicky with the finish. Still tough I’m always amazed by the amount of spiders and flies that turn up as soon as there are fresh painted surfaces around.
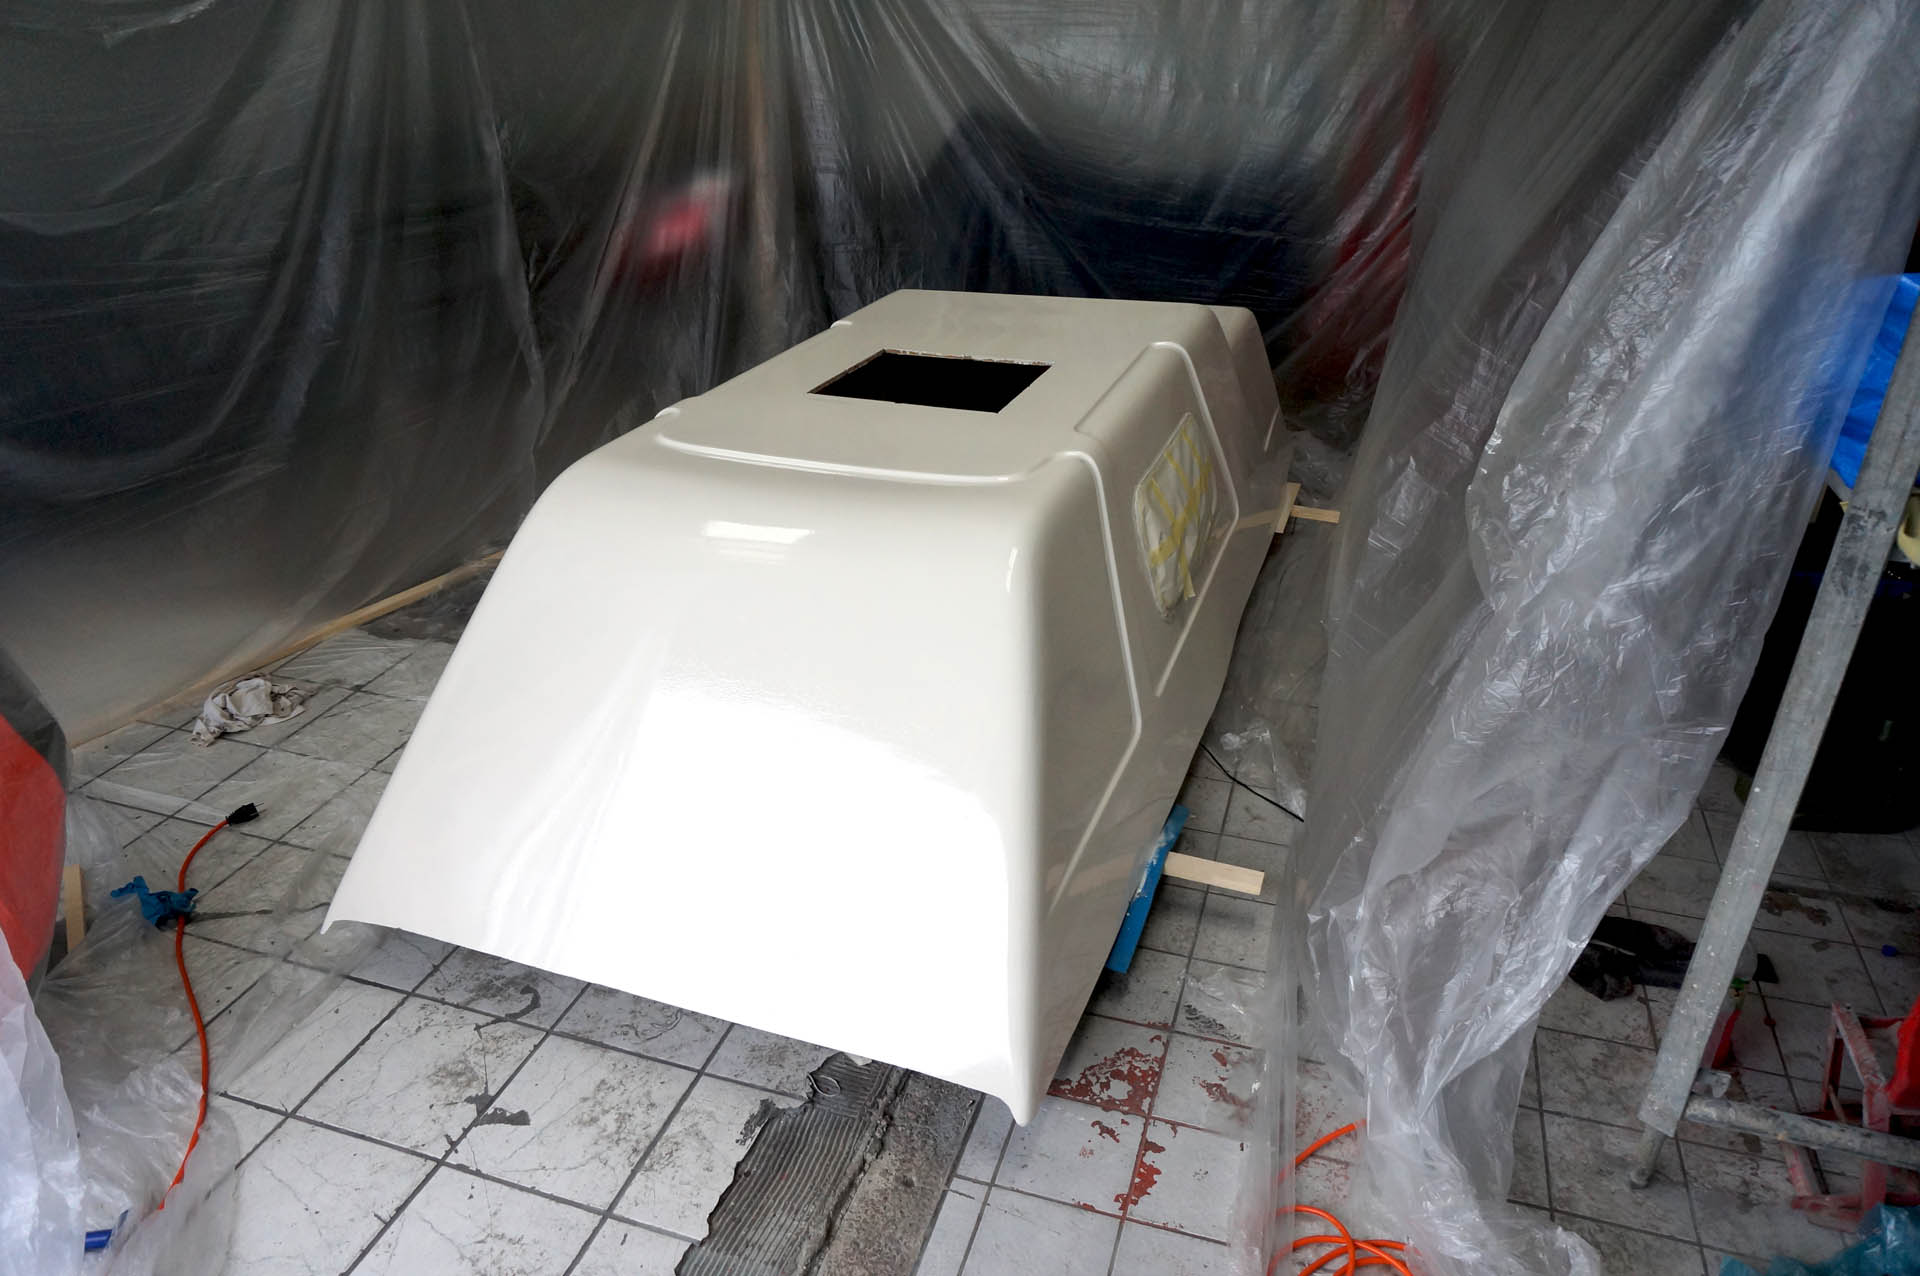
Fresh Paint
The part which I feared most was inevitable now! Cutting a 1m x 1,2m hole in my roof. Since there is no second try with this I measured a lot, measured again, marked it up, measured again, got the saw… measured one last time. After all it was quite easy to make the cut using a jigsaw and the results where quite satisfying.


After the cut I sanded and painted the original roof of the bus, to prevent any rusting through condensation later on. It was interesting to go through the colorful history of paint-jobs Dr. Jones had so far. All this will be later covered by the floor that will be on top of the original metal roof.
Colorful History
The last step was now to make sure the roof will stay where it belongs even without lashing straps. So I got 8 cartridges of Silkaflex 252 and 4 of 222i UV to attach the roof to the roof and went to work. My Hands started hurting pretty quick from the amount of pressure needed to get it out of the cartridges. So if you want to save yourself some sore hands, cut the nozzle as big as you can, you will need a lot of the stuff anyway. The trick is to get the roof on fast enough before the glue dries, so I went ahead and put two car jacks inside. After I applied the glue I just had to release them and the roof came down into the position it was meant to be. Still sweating and cursing like crazy through the whole procedure, though! :)
Strapping it down good and waiting for everything to be dry:


et voilà:
![]()

You make a great job by Doctor Jones, it`s amazing :-)
LikeLike
Schick (-:
LikeLike